Friday, September 8, 2017

Candy Corn Trick-or-Treat Bags

One of my biggest struggles with crochet projects is deadlines.  I start a project for a specific event, and then I find myself sitting up til 3:00am the night before, exhausted & fed up, and I usually cut the project short.  This has resulted in some smaller-than-normal baby blankets being played off as "car seat blankets," or even an occasional fib about forgetting the present at home... 

So, one of the things I've really been trying to be better about is starting projects earlier, and not trying to do too many things at once.  For example, I picked just 2 Christmas projects I want to have finished for this year (I have a guhzillion others, but I'm not pressuring myself to have them done for Christmas 2017) and I'm already working on them... and I started these Halloween bags in August!  Which is why they're done now, weeks ahead of time, and ready to share with all of you :)


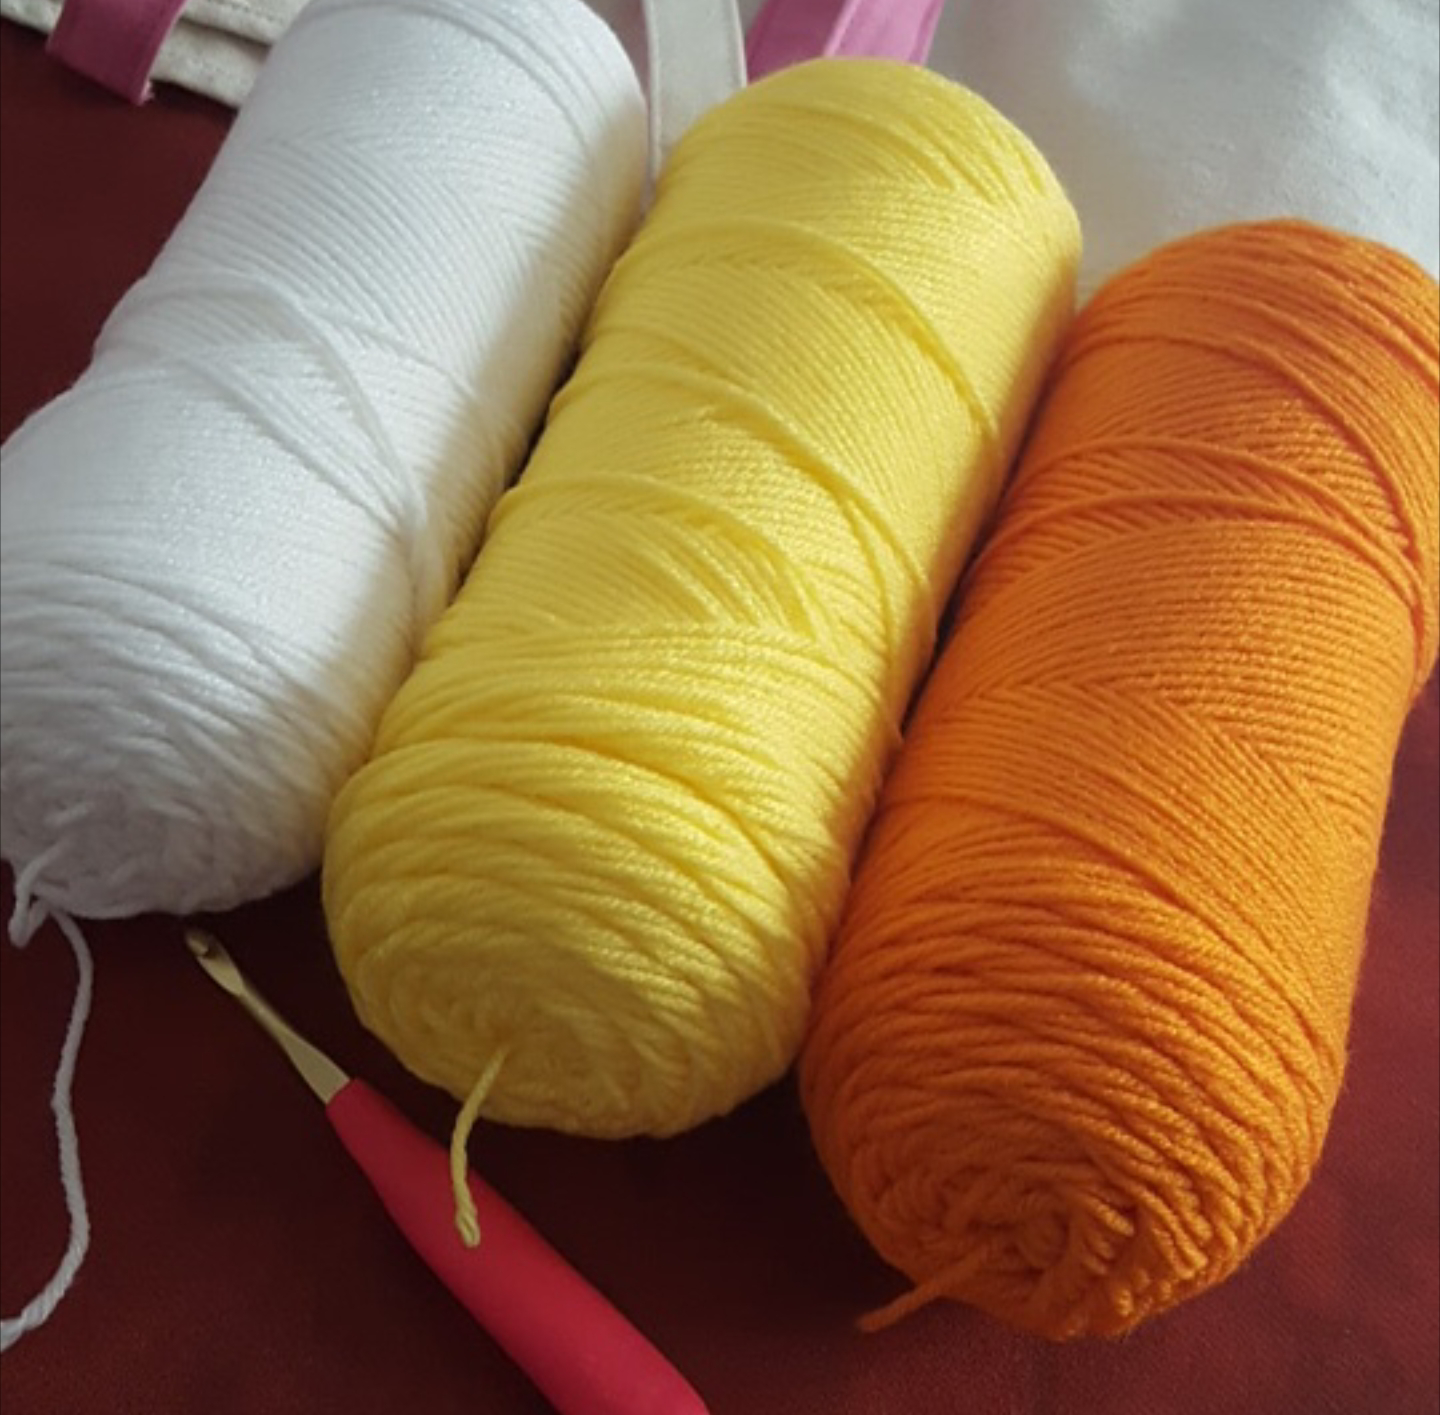
Anyone who knows me knows I'm a #BasicWhiteGirl through and through, and I live for Fall every year!  I love the weather, football, Wine Fest, the Great Frederick Fair, pumpkin picking, my son's & my own birthdays, Halloween, bonfires, Thanksgiving... oh, Lawd, I could go on for days!  So, even in 90 degree weather in the middle of August, just looking at those Candy Corn colored yarn skeins (Red Heart Super Saver in white, bright yellow, and pumpkin) made me super happy =D

I'm warning you now, I am NOT a professional pattern writer, and I pretty much made this up as I went along, so it's far from perfect.  But, if you want to try it out, here's what I did:

Notes: RHSS yarn, J10 hook, ch2 does NOT count as dc

Triangle (make 2)

White:
•ch 7, dc in 3rd ch from hook & across, ch 2 & turn (5)
•2 dc in first st, dc in each across until 1 remains, 2 dc in last st, ch 2 & turn (7)
•dc in each st across (7)
•2 dc in first st, dc in each across until 1 remains, 2 dc in last st, ch 2 & turn (9)
•dc in each st across (9)
•2 dc in first st, dc in each across until 1 remains, 2 dc in last st, ch 2 & turn (11)
•dc in each st across (11)
•2 dc in first st, dc in each across until 1 remains, 2 dc in last st, ch 2 & turn (13)
•dc in each st across (13)

Join Orange:
•2 dc in first st, dc in each across until 1 remains, 2 dc in last st, ch 2 & turn (15)
•dc in each st across (15)
•2 dc in first st, dc in each across until 1 remains, 2 dc in last st, ch 2 & turn (17)
•dc in each st across (17)
•2 dc in first st, dc in each across until 1 remains, 2 dc in last st, ch 2 & turn (19)
•dc in each st across (19)
•2 dc in first st, dc in each across until 1 remains, 2 dc in last st, ch 2 & turn (21)
•dc in each st across (21)

Join Yellow:
•2 dc in first st, dc in each across until 1 remains, 2 dc in last st, ch 2 & turn (23)
•dc in each st across (23)
•2 dc in first st, dc in each across until 1 remains, 2 dc in last st, ch 2 & turn (25)
•dc in each st across (25)
•2 dc in first st, dc in each across until 1 remains, 2 dc in last st, ch 2 & turn (27)
•dc in each st across (27)
•2 dc in first st, dc in each across until 1 remains, 2 dc in last st, ch 2 & turn (29)
•dc in each st across, fasten off (29)

Holding 2 triangle pieces together, use any color to sl st around side, bottom, side.  Fasten off, and turn bag right-side-out.

Join yellow at a seam:
•sc2tog the st before & the st after the seam, 27 sc, sc2tog the st before & the st after the seam, 27 sc, join with sl st in first st (56)
•ch 1, sc in each st around (56)
•ch 1, 9 sc, ch 10 & sk 10 st, 18 sc, ch 10 & sk 10 st, 9 sc, join with sl st in first st (56)
•ch 1 sc in each st around (56)
•ch 1 sc in each st around, fasten off (56)

I worked in an assembly line process :)

These finished bags are not terribly large - the kids are young, and can't carry heavy treat bags, anyways.  I'm sure my DH & I will carry a large tote with us, for them to empty into periodically.  And, really, am I sad about having a built-in limit for how much candy my kids get?  Nope :)

Now I have 5 bags, ready for my boys & their cousins to go Trick-or-Treating next month with an extra festive flare!  And I am free to work on my Christmas crafts with complete peace of mind ;)


Wednesday, August 30, 2017

Crochet Cables: my first attempt

As I mentioned before, baby blankets are my FAVORITE projects, hands down.  I love how quickly they work up, the soft & snuggly yarn selections, the sweet patterns... and, most of all, I love knowing a sweet little baby is going to be wrapped up in something I poured a piece of my own heart into :)

This latest blanket is no exception - one of my sorority sisters is expecting her first baby next month, and I'm just so excited for her & her wonderful husband!  DH & I were lucky enough to attend their wedding a couple summers ago, and even though her life as a military spouse has called her all over the country, she's such a sweet, supportive friend!  Oh, and to add an extra level to my excitement?  They're waiting for the birth to find out the baby's sex!  I love when couples do that (and I'm dying to hear the news!)

I started working on this blanket months ago, almost the same day I heard they were expecting, so I had more time than I usually have to work on it.  Because of that, I thought maybe this would be a good opportunity to have some fun & explore some techniques I've been too chicken to attempt - namely, cables.  I have approximately a guhzillion cable patterns pinned on my crochet boards, but I've always been too intimidated by them.  Like, seriously?  There's this one celtic knot border that is stunningly gorgeous... but I just know I don't have the patience to do... but I digress.


Seeing as this project is for a baby blanket, and I really don't want too much texture for little fingers to get stuck in, I decided to try my hand at stripes of simple, 2 strand cables.  I used my go-to favorite yarn, Red Heart Super Saver, and I picked camo printed variegated as a nod to the Daddy-to-be's army service (I was hesitant at first, because I didn't want to be hokey, or to seem like I was pigeonholing the baby, but they announced the pregnancy with an ADORABLE camo print onesie, so I figured they'd understand where I was coming from) and since we don't know of it's a boy or a girl :)


These stripes are simply made by making Front Post Double Crochets in a pair of stitches, but doing the second stitch first - thus crossing them over each other to make a braid-like pattern - and "pushing" them to stand out by doing Back Post Double Crochets on the wrong side rows.  It was simple to remember, easy to actually do, and a great introduction to cables!
  • Ch 111.  Hdc in 2nd ch from hook and in each ch across.  Ch 2 and turn. (110)
  • Hdc in first 6 st.  Sk 1 st, fpdc in next st, fpdc in skipped st.  *Hdc in next 10, sk 1 st, fpdc in next st, fpdc in skipped st*  Repeat from * 7 times.  Hdc in remaining 6 st. (110)
  • Hdc in first 6 st.  Bpdc in the 2 cable stitches from previous row.  *Hdc in next 10, bpdc in the 2 cable stitches from previous row*  Repeat from * 7 times.  Hdc in remaining 6 st. (110)
  • Repeat these 2 rows until blanket reach desired length.
Once I was done with the blanket, I went around the entire perimeter with the camo yarn, making a border of single crochets.  I followed that with a plain, cream yarn and made a wave border with a simple pattern of sc, hdc, dc, tc, dc, hdc, sc.  

I, of course, added my label on the back (which matches the color scheme this time!) then it was ready to mail to Colorado!  Made with love, indeed <3


Sunday, August 20, 2017

Behavior Chart

Hey, y'all, you know what's hard?  Parenting!  Lol, not a news flash, I know, but still... I feel like in some ways, it gets easier as A gets older (like having a helper with his little brother, or letting him get his own yogurt so I can rest 10 extra minutes) but in others, it's getting harder & harder!  At almost-5-years old, he has developed quite an attitude, and my DH & I are struggling to help him learn to control his tantrums & express his feelings in acceptable ways.

The majority of the time, A is a sweet, loving, intelligent, funny little guy.  He feels his emotions deeply, which is awesome when he's telling us how much he loves us, or how excited he is to visit his cousins... but it's intense when he's frustrated, mad, or hurt.  He tends to go straight to kicking/stomping, whining, and crying, without using his words at all.  In addition, within the last month or so, he's started a bad habit of back-talking us, AND his teachers!  We try to discuss it with him, and that slowly sinks in (I hope), but we definitely decided we needed some tangible consequences to help him learn.

We went with Tablet Time.  A LOVES to watch YouTube videos on the tablet, usually before we tuck him in at night.  So, we landed on a system where he gets 10 minutes if he's had a great day, 5 minutes if it was a good day, and he gets no Tablet Time if he made too many bad choices.  Let's be honest, we certainly did not make this up, and there's no reason to reinvent the wheel, so we went with the standard stop light colors to make a chart for A to monitor his behavior with: green being great, yellow being ok, and red signifying a bad day.


I designed the circles on my computer, making the faces reflect the levels, and adding messages about what each level means - most importantly, we made the red face ask how A can make tomorrow a better day, since that's really the whole focus here.

I wanted A to feel invested in the chart, and identify with it as HIS, so I printed out a picture of him and attached it to a clothespin.  Now, he has ownership - when he makes a bad choice, he has to move his clip down, and if he makes a good choice, he gets to enjoy moving it back up :)


So far, the chart has been working.  When A has to move down, he even starts the conversation of how he can make better choices to move back up!  Hopefully, he'll continue to ask those questions, and be receptive to those conversations, so he can begin to use his words rather than tantrums.


Friday, August 11, 2017

My First-Ever Afghan!


I've been a crocheter for about 12 years now, but in all that time, I've never made an adult-sized blanket - I've made LOTS of baby blankets and other projects like hats, mittens, toys, etc.  But the idea of a full-sized blanket was quite intimidating.  And, quite frankly, I worried I wouldn't have the patience to focus on one project for the amount of time it would require.

I'm not sure what exactly made me change my mind, but when an old friend of mine got engaged, I decided I wanted to make an afghan for her wedding present.  I've always enjoyed making baby blankets for any friends & family who have kids [seriously, it takes, like, 3 seconds after my exclamation of delight before I'm picking stitches and browsing for yarns...] but this was my first-ever wedding project.  Luckily, the gal I made this for is a sweet, loving, genuine-hearted person who I know will appreciate a handmade item, so it was a good time for my first attempt ;)
Happy Wedding, Addie & Peter!


I was already nervous about my time management when it comes to crocheting, so I selected a variegated yarn, to give the blanket visual interest without adding the hassle of changing colors and weaving in extra ends.  This is "watercolor" by Red Heart, and I totally love it!  I had some left over, so I think I might make pillows for my couch at work ;)  I kept it simple, yet gave the blanket some texture, by working in a 3dc crossover pattern: 
  • chain a multiple of 4 + 2, plus 1 extra for the starting chain (I did 163)
  • Row 1: sc in the 2nd chain from the hook and across, chain 2 & turn (this gave me 162 sc)
  • Row 2: dc in the first stitch - doing this on either end of the pattern rows will give a nice, even edge to the project.  Skip the next st, then dc in each of the following 3 stitches.  Then, dc into the stitch you skipped - this will stretch the working yarn across the 3 you just made, creating the dc crossover pattern.  Continue across the whole row, following the *skip the next st, dc in each of the following 3 stitches, then dc into the stitch you skipped.*  Dc in the last stitch, ch 1 & turn. (160 pattern stitches + 1 dc on each side = 162 stitches)
  • Row 3: sc in each st across, ch 2 & turn
  • Row 4: dc, *skip 1 st, dc in next 3, dc in skipped stitch* across, dc in last stitch
  • Repeat rows 3 & 4 for the remainder of the project, being sure to end on an sc row, for a clean border


When I was done crocheting, weaving in the ends, and blocking the project, I added my last little touch: a personalized label I put on all of my pieces.  All in all, I'm SUPER excited to have finished a whole afghan, and I'm already dreaming about all the couches & beds I can make cozy blankets for... ;)


Monday, July 10, 2017

Who IS This Person?!?

Today was my first day back to work following an AWESOME week of family vacation at Cape Cod.  The week was super fantastic for so many reasons - quality time with my family, beautiful weather, private beach access, fun activities, and plenty of fresh, delicious seafood.  But one of the most amazing things was that I spent our swimming sessions in a bikini.


Yes, you read that right - I wore a bikini for essentially the first time in my life (I can't honestly recall if my mom ever put me in one as a toddler or whatever).  This is the same woman who has worn a cover-up at the pool or beach since I was in middle school... who chose swimsuits with skirted bottoms starting in high school... who bought matronly, unflattering one-pieces every time I need a new suit, in an attempt to be as inconspicuous as possible.

But this year, something changed.  The Body Positivity movement has really taken off, and even though I'm still struggling to embrace it fully as it applies to me, I have certainly begun to appreciate my body more, and to believe that I'm not "disgusting," as I once thought.  I'm totally over being ashamed of how I look, or worrying about how others are viewing me, because I have more important things to focus on.


And while my body might not look like a supermodel's, I'll tell you something - my body grew two humans, gave them life & fed them, and that is BAD ASS.  And now those two little ones are watching me every day, learning from my attitudes & beliefs, and I certainly do not want to teach them to be embarrassed of their own bodies.  I want them to know that it's ok to wear whatever they're most comfortable in, and that it doesn't matter what anyone else has to say about it.  And I also want them to look back on those memories we're making and see a happy, emotionally healthy mother :)

What I found most interesting about this whole experience is that I actually felt MORE COMFORTABLE in this bikini than I used to in my tent-like one piece with the attached skirt.  I thought I'd be more self-conscious, or want to stay wrapped up in my towel, but I tossed my cover-up aside and walked right down to the water to play with my boys.  And unlike before, when the excess material swarmed around me in the water, or took forever to dry out, or drew extra unwanted attention, my bikini was a non-issue.  I think I'm officially a convert, y'all - it only took me 30 years, but I'm finally entering a phase in my life where I'm accepting myself as I am.


Thursday, June 29, 2017

High Protein Peanut Butter Cups

So, funny story about me and peanut butter... I always hated it, my whole life.  I know it's, like, everyone's favorite thing, but I just never liked it!  I gave my Reese's cups away after trick-or-treating, I chose tuna over pb&j, and I preferred my apple slices on their own.  But when I was pregnant with my first child, I craved peanut butter SO BAD!  We were buying those huge, Costco-sized tubs of it on a regular basis, and I ate it every chance I got.  And ever since then, I've loved peanut butter!  It's like that pregnancy converted me, and y'all know what they say about the fervor of a convert...

I think we all know the BEST way to eat peanut butter is with chocolate, amirite?  No more trading away Reese's cups for me - I'm gonna hoard those beauties all for myself (and maybe even steal the kids', too)!  But, since I'm trying my best to eat healthier & stick to my high protein/low carb regimen, I wondered if I could maybe make a healthier version for myself.  I make peanut butter balls at the holidays, so the process was easily tweaked to make a healthier filling, and these High Protein Peanut Butter Cups were born.  These delicious treats have all the flavor of a Reese's, but with way less sugar and triple the protein!

INGREDIENTS
-2 tbsp whey protein (I used chocolate, but vanilla would work)
-1/4 Cup PB2 powdered peanut butter
-1/4 Cup skim milk
-3 tbsp creamy peanut butter
-1 Cup chocolate chips (I used Hershey's special dark, but you do you, boo)

DIRECTIONS
In a small bowl, combine the protein powder, the PB2, and the skim milk, and stir until smooth.  Add the peanut butter and mix to combine into one smooth filling.  Set aside.  Melt the chocolate chips however you like - in the microwave, using a double boiler, in a small pot on the stove, whatever.  Pour a small layer of melted chocolate into each of 8 silicone cupcake molds & freeze until chocolate is solid.  When they're ready, add a spoonful of the filling to each cup and smooth it down, making sure you leave an edge for the chocolate coating to surround it.  Top the cups with the rest of the melted chocolate, then freeze them again til they're completely solid.  You want to store them in the freezer, too :)


Friday, June 23, 2017

Kid-Friendly Laundry Organization

My family just moved into a new house, which is of course stressful & overwhelming, but is also a great excuse to get things organized right from the get-go!  One of the things I wanted to change our routine for is dirty laundry.  In our old house, I threw everything all together in one big laundry basket, just sitting on the floor in our master bedroom.  But I want a system that will sort my loads out for me as I go, so it was time for a little DIY-ing.

Let me just get this out there right now, before anyone feels the need to lecture me later in this post: I.  Do.  Not.  Sort.  Laundry.  By.  Color.  I know, it's what you're supposed to do.  I know, everyone does it that way.  I know, my mother would be appalled.  But it just seems so silly to me - I toss all our shirts, pants, jammies, etc. together.  I DO separate undies & socks into their own load, and wash them in hot water, for germ purposes ;)

So, when I was planning my laundry organization system, I decided I needed 3 baskets: clothes, socks & undies, and towels.  Our new house has a big, wide closet in the bathroom, so I can fit 3 baskets on the floor in there, and everyone's laundry can be put in them without any inconvenience.  I even created the labels with pictures, to help my 4 year old sort his own clothes:

I just printed them on cardstock, cut them apart, and attached them with heavy tape to baskets from the dollar store.  So far, this system is great!  I don't have to spend my time sorting, because everyone in the house is doing it as the days go along.  And come laundry day, I just grab a pre-sorted basket & take it downstairs with me :)


Sunday, June 18, 2017

I TRY to Be an Organized Mom

The amount of STUFF I have to cart around for my two boys can often get out of hand, and I sometimes struggle to keep it all organized.  I swear, I have all these good intentions and great plans for how I'm going to keep everyone organized & on schedule... then somehow it turns into me packing lunches while getting dressed in the kitchen, or forgetting to bring diapers when we run errands...

For example, the daycare situation.  My 4 1/2 year old needs a sheet, a blanket, a pillow, and of course, a "sleepy time friend" (that's a stuffed animal, lol) every day.  My 18 month old needs all the same things PLUS diapers, wipes, sippy cup, lunch, and 2 snacks.  They each have a backpack, and I usually stay on top of those daily needs.  But now, for the summer, their school is adding a Water Play Day one day each week, and of course, each boy is on a different day.  Our mornings are quite rushed as it is, and I just knew I needed a system to help me remember all their stuff on those specific days.  So, I decided to make each of them a tote bag, stuffed with all their Water Play Day items, that I can just grab on the way out the door.

I got the plain canvas tote bags at AC Moore, along with iron-on letters.  Everything else I already had here at home, so it was a quick & easy project.  I washed & ironed the bags first, so they'd be ready for the letters, which I cut apart from the sheet they came on, trimming close around each one.  They get laid on the bag face-down (make sure they're facing the correct way, like a mirror image kinda challenge), a thin cotton cloth goes on top, then the hot iron is pressed on them for 15 seconds or so.  Once everything is cooled down, you can peel the backing off, and the letters are on the bag!  Easy-peasy :)


Of course, the trickier part is having to actually pack the bags, to be sure everything my boys need is in there.  They each got a towel, their swimsuit, a pair of flip-flops, sunblock, and a grocery bag for the wet stuff to come home.  Leo got swim diapers, too ;)  As long as I make sure to re-pack the bags after I do laundry, they will always be ready for me to grab on our way out the door - Leo's on Tuesday mornings, Aidan's on Thursdays.  Happy Summer, y'all!


Wednesday, June 14, 2017

Happy Father's Day, Grampa!

Father's day is 3 days away, so I'm working on presents for my husband and my father.  I always find it hard to pick presents for Father's Day.  We're on a tight budget in our house, so I can't really afford the sports tickets, restaurant gift cards, or other gifts that would be sure-fire hits.  That means we typically go the sentimental route, which my father loves, don't get me wrong - but how many hand print t-shirts or sharpie-colored mugs can one grandfather use?  Lol.

I decided I'd go with pictures of Grampa with the boys.  They share so many sweet moments together, so often, I have tons to choose from.  But two in particular really struck me as I browsed: snaps of my dad walking hand-in-hand with each boy.  They were just such lovely moments captured, they make me smile every time:

I paired the pictures with a sweet poem about how special those walks with Grampa are

And framed them all nicely to give to Grampa on Sunday.  I think he'll like it, especially since we're getting ready to move out soon, and he'll be missing his Little Men ;)


Wednesday, June 7, 2017

DIY Yarn Tote

Have y'all ever seen those awesome yarn bags, with the holes to feed the yarn through, so you can crochet / knit without having to unpack your stuff?  They are super cool & I have always wanted one, but they tend to be on the expensive side for my budget.  A while back, AC Moore had these large, canvas tote bags on sale for, like $5 - definitely more in my budget range.  Pink is my signature color, and I love anything with my initials on it, so I scooped up this awesome bag:

It's sturdy, it's machine washable, and it's huge - it hold 10 large skeins of yarn, standing up, and more if you're just piling them in there.  I've been using it to carry around my current afghan project, and it's working well.  But, I keep wishing I could just pick my work back up without having to essentially unpack each time.  So, I decided to convert my tote to a yarn bag, using a DIY grommet kit.  I got mine at AC Moore for $4.99, but you can grab one online here.  Wherever you pick yours up, it will come with pairs of grommets, a small anvil, and a grommet tool:

If you've never done this before, it can be a little intimidating, but seriously?  The process is so simple & easy, it's kinda amazing.  Once you decide where you want your holes, you trace the inside of one of the grommets, and cut it out using scissors.  You insert the top piece into the hole from the outside of the bag, then put the other half of it on the back side, so that they fit into each other.  Then you place the grommet on the little anvil thingy that came in the kit, insert the tool into the top piece, and gently hammer them together.  The center of the grommet splits, to lock the two pieces together.  And that's all there is to it - hole to grommet in less than 60 seconds ;)

I wanted to have 4 yarn holes, so I did two on each side.  Right now, they're just extras, but if I wanted to do some C2C or tapestry crocheting, they would be incredibly helpful in keeping the yarn from tangling together.  And now, I have a yarn tote I can conveniently bring with me anywhere I go.  Here it is in action:
The yarn feeds smoothly while in use...

And tucks right back in when it's time to go ;)


Friday, June 2, 2017

Crochet Flip-Flops

Ok, let me just tell you, I NEVER buy a crochet pattern.  It's a matter of principle for me - I either figure it out myself, or I Google til I find a free version.  But, y'all, I just couldn't help myself this time!  These crochet embellished flip-flops were just calling my name, and I really don't think I could've designed anything as good as these.

As soon as I saw these, I wanted to make them the very same day!  So, on my way home from work, I went to the dollar store to buy a basic pair of black flip-flops.  Nothing fancy, just regular rubber sandals - how easy is that?!?  Conveniently, the dollar store and AC Moore share a parking lot, so I swung in there to get the yarn.  The pattern suggested Sugar'n Cream cotton yarn, which makes sense because they'll dry faster than acrylic yarns like my favorite Red Heart Super Saver if the shoes get wet, so I grabbed a skein of black.  Perhaps black yarn wasn't my smartest choice when trying a new technique, but I really wanted black sandals!  Lol.

The best part about making these flip-flops was that they worked up super quickly!  I had to wait til my boys were both in bed, of course, but once I settled in, I had both sandals done in about an hour.  And that included my slow progress at the beginning, as I got used to the awkwardness of crocheting around the straps ;)  Before I went to bed that night, I had a whole new pair of beautiful sandals, ready for the summer.


Thursday, May 25, 2017

Crochet Steering Wheel Cover

I have had my eye on this gorgeous Red Heart Super Saver yarn for quite a long time... 
Red Heart Super Saver "lagoon"

Every trip to AC Moore, it would catch my eye.  And every baby blanket, present for my nieces, or other project I started planning, I would think, "could I use that RHSS lagoon for this?"  (spoiler alert: the answer was always NO, because it's kinda loud coloring...)  Last month, AC Moore was running a huge sale on RHSS, which is my favorite yarn, so my husband took me on a mini shopping spree.  As I sat in the aisle, strategically picking yarn for the specific projects I have in mind, I couldn't resist - I snagged a skein of this, just because, and it's been teasing me from my stockpile ever since.

Last week, I finally decided what I would do with it.  I got into my car after work on a hot, 90* day, and my steering wheel was too hot to touch.  I wished I had a steering wheel cover, then thought how cute it would be to crochet one, then got super excited, because it was an awesome excuse to use my favorite yarn!

I measured my steering wheel to see how wide my strip of fabric would need to be, as well as the circumference of the wheel, which would be the needed length of the finished product (sort of).  For me, using this yarn and a size I hook, I needed ten double crochet stitches across.  
If those nice, straight edges don't make 
you happy, we cannot be friends.  Lol

I simply continued with nice, even rows of double crochet, until it was long enough to surround my steering wheel WHEN STRETCHED.  This is important.  Each time I measured my progress, I pulled the fabric as far as it could go, then stopped when that expanded piece hit my 47.5" goal.  This way, the cover would have to stretch tight to go over the wheel, and wouldn't slip off when in use :)
Just one long, straight piece of fabric - easy, peasy

I joined the two ends of my fabric strip by holding the ends together & slip stitching across, picking up only the inside loops of the stitch on each side.  This creates a nice, flat seam, without the added bulk of both loops and/or a single crochet.
Slip stitches in the inside loops only
make a nice, flat seam:

I decided I'd like a little bit cleaner look for my daily use, so I went around the full circle on both sides, and I used a half double crochet, to give the border a little more depth.  I was nervous about the fabric slipping on the wheel when I was making turns or whatever, so I used some of that rug gripper stuff on the wrong side of the fabric, to keep it in place.  After that, all I had to do was stretch it around my steering wheel, and I was ready to ride!